VOICE Home Page: http://www.os2voice.org
[Newsletter Index]
[Previous Page] [Next Page]
[Feature Index]
|
VOICE Home Page: http://www.os2voice.org |
April 2002
[Newsletter Index]
|
| By Walter Metcalf © April 2002 |
Introduction
The Server Edition of BackAgain/2000 is the flagship of Computer
Data Strategies' (CDS), Inc. computer backup software. This Edition has the
following features not found in the Workstation Edition:
Henceforth the term "BackAgain" will mean "BackAgain/2000 for
OS/2 Server Edition, v.3a" unless otherwise specified. Moreover, the term BackAgain
Workstation will mean "BackAgain/2000 for OS/2 Workstation Edition, v. 3a"
unless otherwise specified. Where other variants of BackAgain need to be referred
to, then additional qualifications will be included in the reference. Hopefully
this convention will make this article a little easier to follow.
New Features
Here is a partial list of the new features introduced in V.3 (both Server and
Workstation):
In this day of sky-rocketing postal rates and concern for our forests, few manufacturers
distribute
paper manuals with their software products anymore. Paper has been replaced by onlinefiles.
These files range from simple text files to HTML files to sophisticated Acrobat
(.PDF) files with or without internal links. CDS is no exception to this general
pattern. So the question of a software product's documentation these days is its
amount, thoroughness, and quality. BackAgain/2 excels in this area:
BackAgain has an IBM Information Presentation Facility (IPF) (extension. = .INF)
file that documents its REXX library, an internal help file, a substantial introductory
text file, and a large sophisticated Acrobat file with a Table of Contents and internal
links. The total size of all these (mostly packed) files is close to 1,200 KB.
In version 2.0 several "holes" were apparent in both the internal documentation
and the .PDF file. Several of these, especially those dealing with command line
functions, appear to be plugged. However "holes" still remain. One particularly
glaring one is the new "security file information". Since this is new,
one would expect this to be covered in the documentation. Unfortunately, there is
not a trace to be found, except a passing reference in the introductory Readme file.
BackAgain comes in two basic forms: electronic (download) and CD. In either case
the installation procedure is essentially the same. (I only wish more applications
were as simple to install as BackAgain is!) With the electronic form, there is just
one additional step:
You must create a directory for the BackAgain EXE file (different from the one
you plan to run BackAgain from), copy or download the self-unpacking EXE file into
this directory, and then execute the file.
Configuring BackAgain/2000 Server Edition, v3
Before you can use BackAgain, you must (or at least you should) configure
it. Doing this defines certain values that will always be used, unless you specifically
set them otherwise in a SET (*.BST) file. Not configuring BackAgain can cause a
great deal of confusion when you try to use it.
Next month in the VOICE Newsletter, I'll continue this article on BackAgain/2 Server for OS/2. Please stay tuned! If you have any questions or comments about this article, you can contact me at walter.os2@rogers.com.
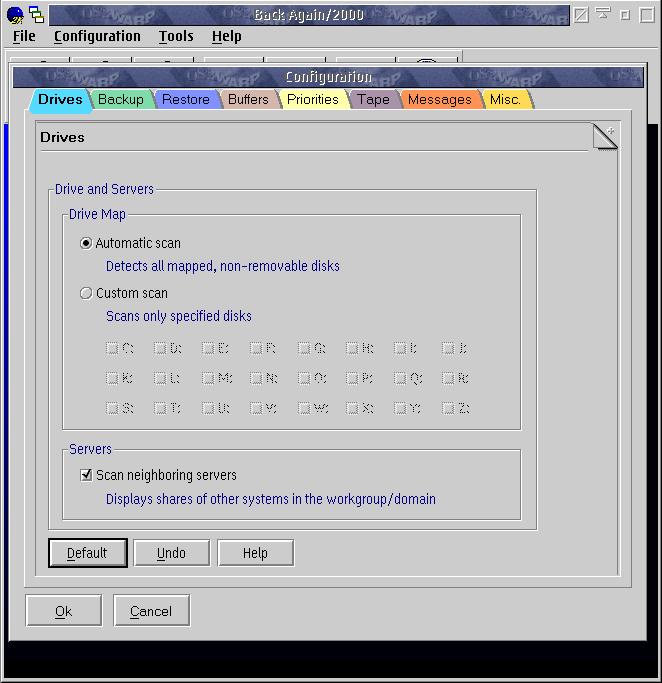
- Drives Tab
Note: for and the other screenshots in this article, click to expand image; then click on browser "Back" button to return to normal size.
- Open the BackAgain Folder and then double-left-click on "BackAgain/2000 Server" icon to start the BackAgain program.
- Click on "Configuration", located on the Main Menu.
- Select the "Preferences" item.
- This will open a window called "Drives".
- The "Help" button gives a clear and complete description of each option, so there's little point in repeating it here. I'll limit this discussion to some additional comments and tips.
- Since you purchased the Server Edition, you are probably running BackAgain on a network of some kind. In that case, the combination that usually works best is "Automatic scan" and "Scan neighboring servers".
- This is also the most flexible setting, since it allows you to view all mounted drives on the network. Then you can select only the systems, drives, directories, and files you want from the tree structure map presented by the Backup and Restore windows.
- If, however, you are backing up a single workstation, then it's probably best to check "Automatic Scan". This will present all, mounted, local drives for backing up.
- However if there are some local drives that you never want to back up, for example your swap drive, you can use "Custom scan" to omit them permanently from the backup menu.
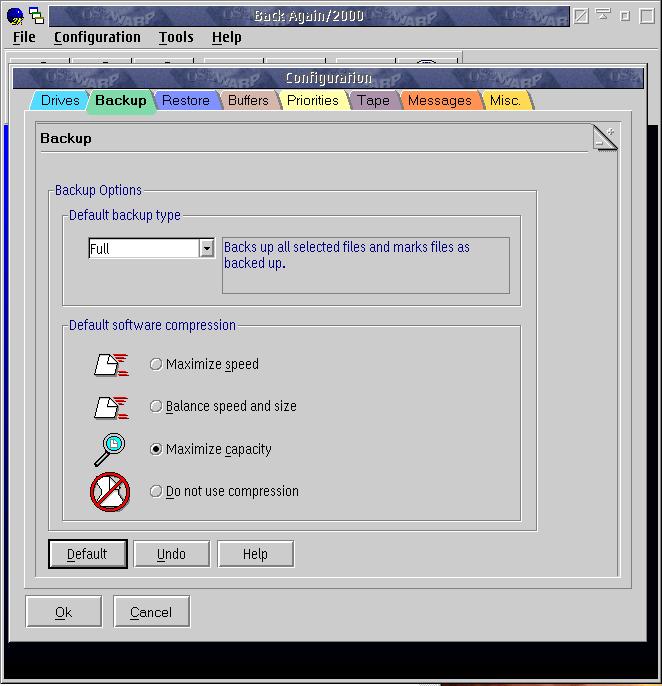
- Backup Tab
This page contains two sections:
- Default Backup Types:
- In OS/2, backups are controlled by the Archive attribute flag. This flag has the following significance:
- When a file is created or changed, the archive flag is set to "A".
- When the file is backed up using a full back up or incremental back up, the archive is cleared (or reset) to "blank".
- Special utilities, such as "attrib" and "FileStar/2" are able to manipulate the archive flag directly. Generally, this is not a good idea unless you have a thorough understanding of what you are doing.
- The OS/2 relationship between the attribute flag and backup programs produces four logical types of backups. These types are based on how BackAgain/2 (or any backup program) handles the Archive attribute flag. Here are the four types:
Types of Tape Backups Full
All selected files are backed up.
files marked as backed up.
Copy
All selected files are backed up;
does not mark files as backed up.
Differential
Backs up only selected files that have changed since last full backup; files not marked as backed up.
Incremental
Backs up selected files that have changed since last full or incremental backup; files marked as backed up.
- BackAgain always resets the archive flag after the back up operation is complete, which makes it much easier to recover from a failed or partial back up. Some backup programs, such as BackMaster reset the archive flag on the fly, making recovering from a failed backup often next to impossible.
- Default Software Compression
- Select your choice of speed vs. amount of space used. Note: this is software compression, i.e. compression done by the processor, and is entirely different from any built-in hardware compression your tape drive may do.
- Here are the possible options:
Maximize Speed
Balance speed and size
Maximize Capacity
No compression
- Some tape drives with built-in hardware compression, such as many 4mm DAT drives, specifically require that you set your backup program to "No compression", so check your drive manual before making your choice.
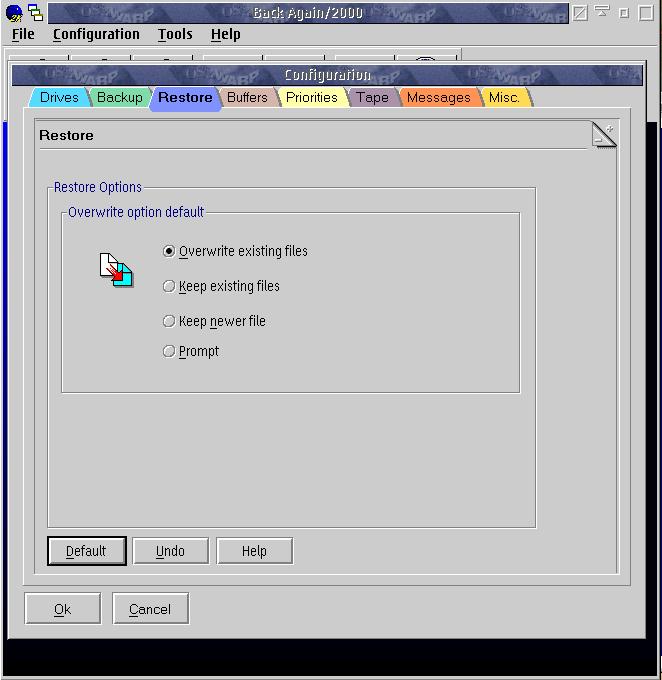
- Restore Tab
On this notebook page, specify the action you wish BackAgain to take when a file with the same name exists both on the source and destination devices.
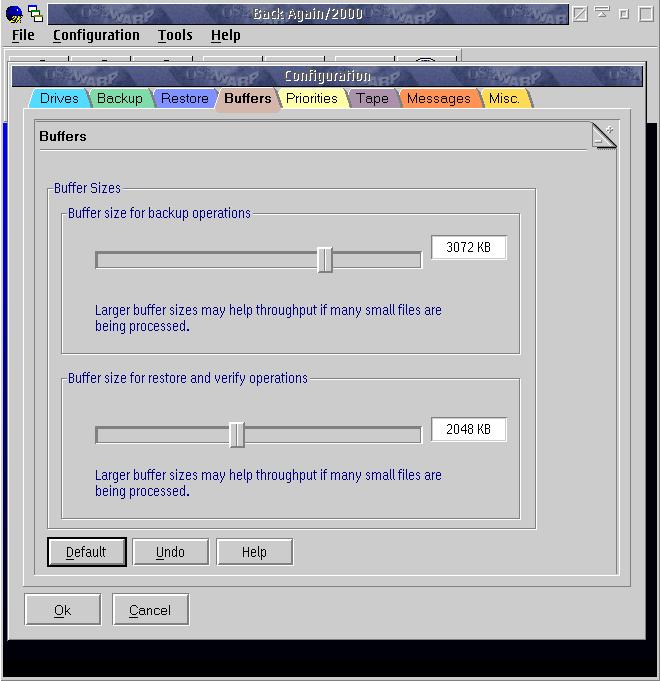
- Buffers Tab
This notebook page allows you to tailor BackAgain's performance for your system.
- If you don't care if BackAgain takes up all or most of the system resources while backing up, then slide the "Buffer size for backup operations" slider toward the right. If, on the other hand, you want to be able to use the system for other tasks (e.g. print spooling) then keep the slider toward the left to leave resources available for the spooler, which requires considerable resources to function at peak efficiency.
- Set the "Buffer size for restore operations" in the same manner, remembering of course that it applies to restores.
- Ultimately the best settings for these sliders will have to determined by trial and error.
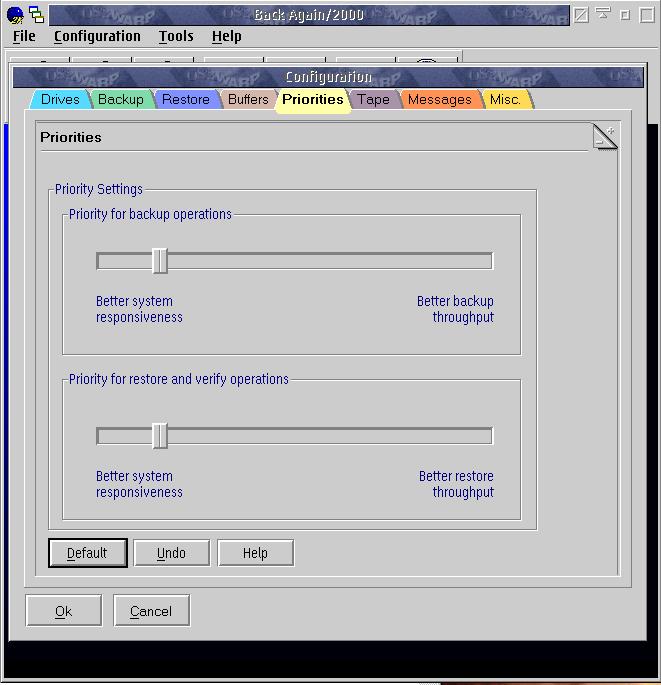
- Priorities Tab
- This page contains another pair of sliders to control the relative responsiveness of the system vs. BackAgain throughput. However these sliders directly manipulate system priority variables, and therefore may affect the behaviour of the system more profoundly. Therefore the user is advised to move these sliders only a small amount at a time so the impact on the system can be assessed in small increments.
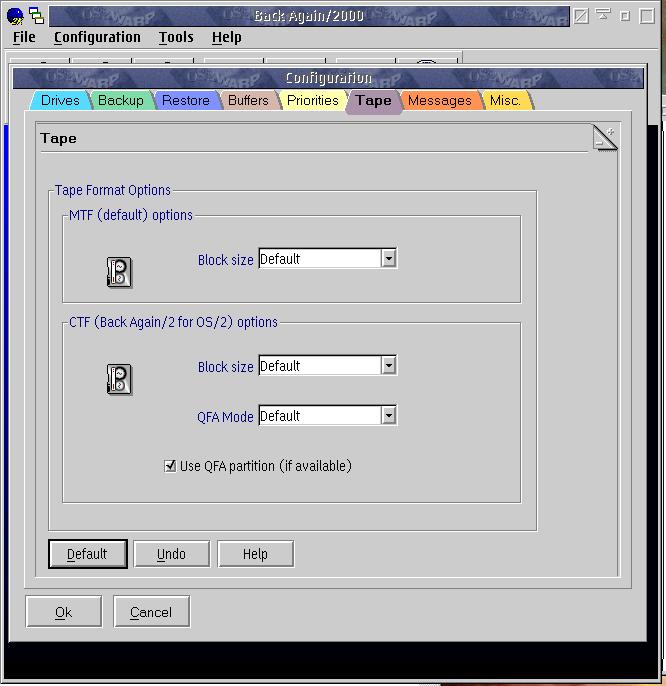
- Tape Tab
- MTF (Microsoft Tape Format) Options
- Used for both reading and writing
- Should not be changed unless recommended by CDS, Inc. technical support.
- CTF (CDS Tape Format) Option
- Used to read tapes created by BackAgain/2 for OS/2. User may specify the block size and QFA parameter.
- Warning: I have found that changing the block size between backup sessions often renders an entire tape unreadable until a long erase ("Wipe") is performed!
- Therefore, in the absence of specific instructions from CDS Inc technical support to the contrary, the settings on this page should NOT be changed.
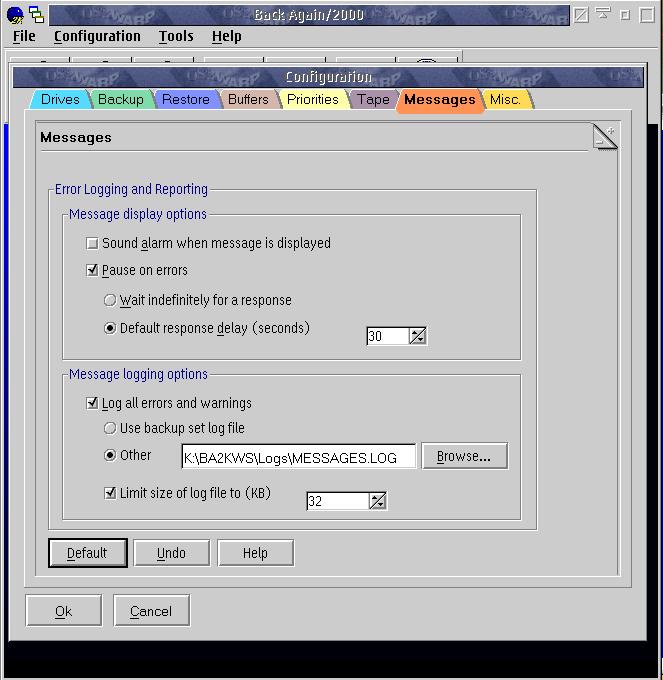
- Messages Tab
- Message Display Options
- Sound alarm when message is displayed (yes/no)?
- Pause on errors
- Wait indefinitely for operator response (yes/no)?
- Default response delay? (30 seconds)
- This default may be changed by typing in a different number.
- Message Logging Options
- Log all errors and warnings (yes/no)?
- Use backup set logfile (yes/no)?
- This option will append the messages to the Backup Set file.
- Other: [specify filename]
- Limit size of logfile to KB. [specify KB]
- Which combination of these options you choose is essentially up to you. You can try a few combinations and see which suit your personal preferences and your system best. As a start, here is the setup I use:
- Sound alarm when error message is displayed;
- Log all errors and warnings;
- Log to file called "Messages.log"
- Limit size of log file to 64 MB.
- Misc. Tab
This notebook page contains three final settings that need to be looked at.
- Display directory names only
- This simple option can be set on or off. However it can have a significant impact on your backup's performance. Here's how it works: if your backup consists of a lot of small files, the BackAgain can actually spend more time displaying each separate filename that it does backing up the files!
- If this turns out to be the case with your backup, then turning this option on can substantially improve the throughput of your backup. As with some of the other options, the only way to tell for sure is to experiment with your system.
- Default device
Although the output device can be defined in each SET (*.BST) file, BackAgain gives you the opportunity here to define the device you use most often.
- Either enter the device, path, and filename directly into the window; or
- Click on "Change". This will open a window with a series of device types, including tapes, disks, and floppy diskettes.
- Select the type associated with your usual output device, and a number of options will appear in the "Options" window. These options will depend on the type of device selected. Choose the ones you wish, and click on "OK".
- Autoloader configuration
I do not have an Autoloader and so could not test this feature. Instead I simply get the message "Autoloader support not installed". However I understand that if the Autoloader software module plugin is installed, a whole set of options will appear in this place, allowing the user to configure his autoloader.
Click on OK. This is very important. If you fail to do this, and simply close the window by clicking on the OS/2 or eCS close icon for example, all the changes you have laboriously entered will be lost.
References:
BackAgain/2000, version 3.0 |
[Feature Index]
editor@os2voice.org
[Previous Page] [Newsletter Index] [Next Page]
VOICE Home Page: http://www.os2voice.org